

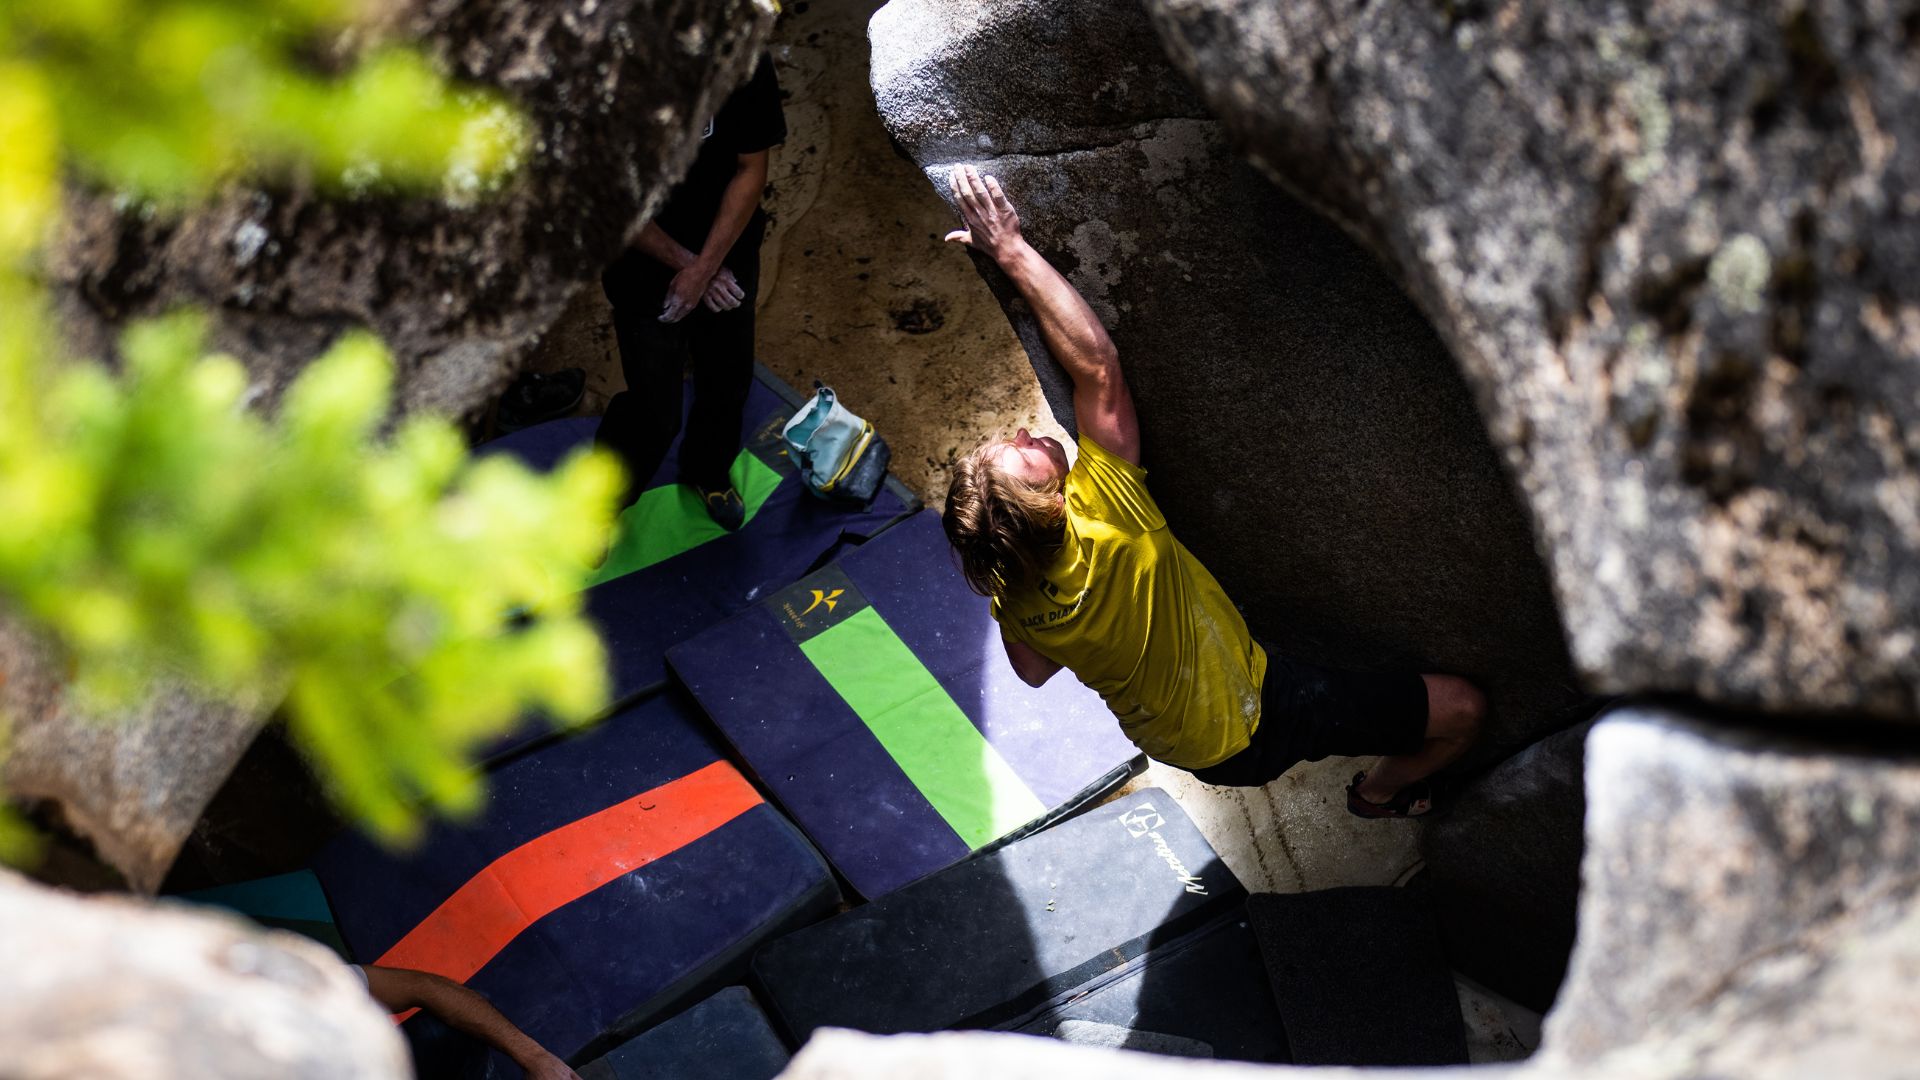
Setting up a proper landing zone with crash pads is crucial for bouldering safely. Whether you’re tackling a V0 or projecting a V10, the right placement of crash pads can make all the difference. Here’s a comprehensive guide on how to set up your landing zone properly, covering seams, accessory pad use, identifying fall zones, thicker foam placement, and stacking pads for extra support.
Identifying Fall Zones
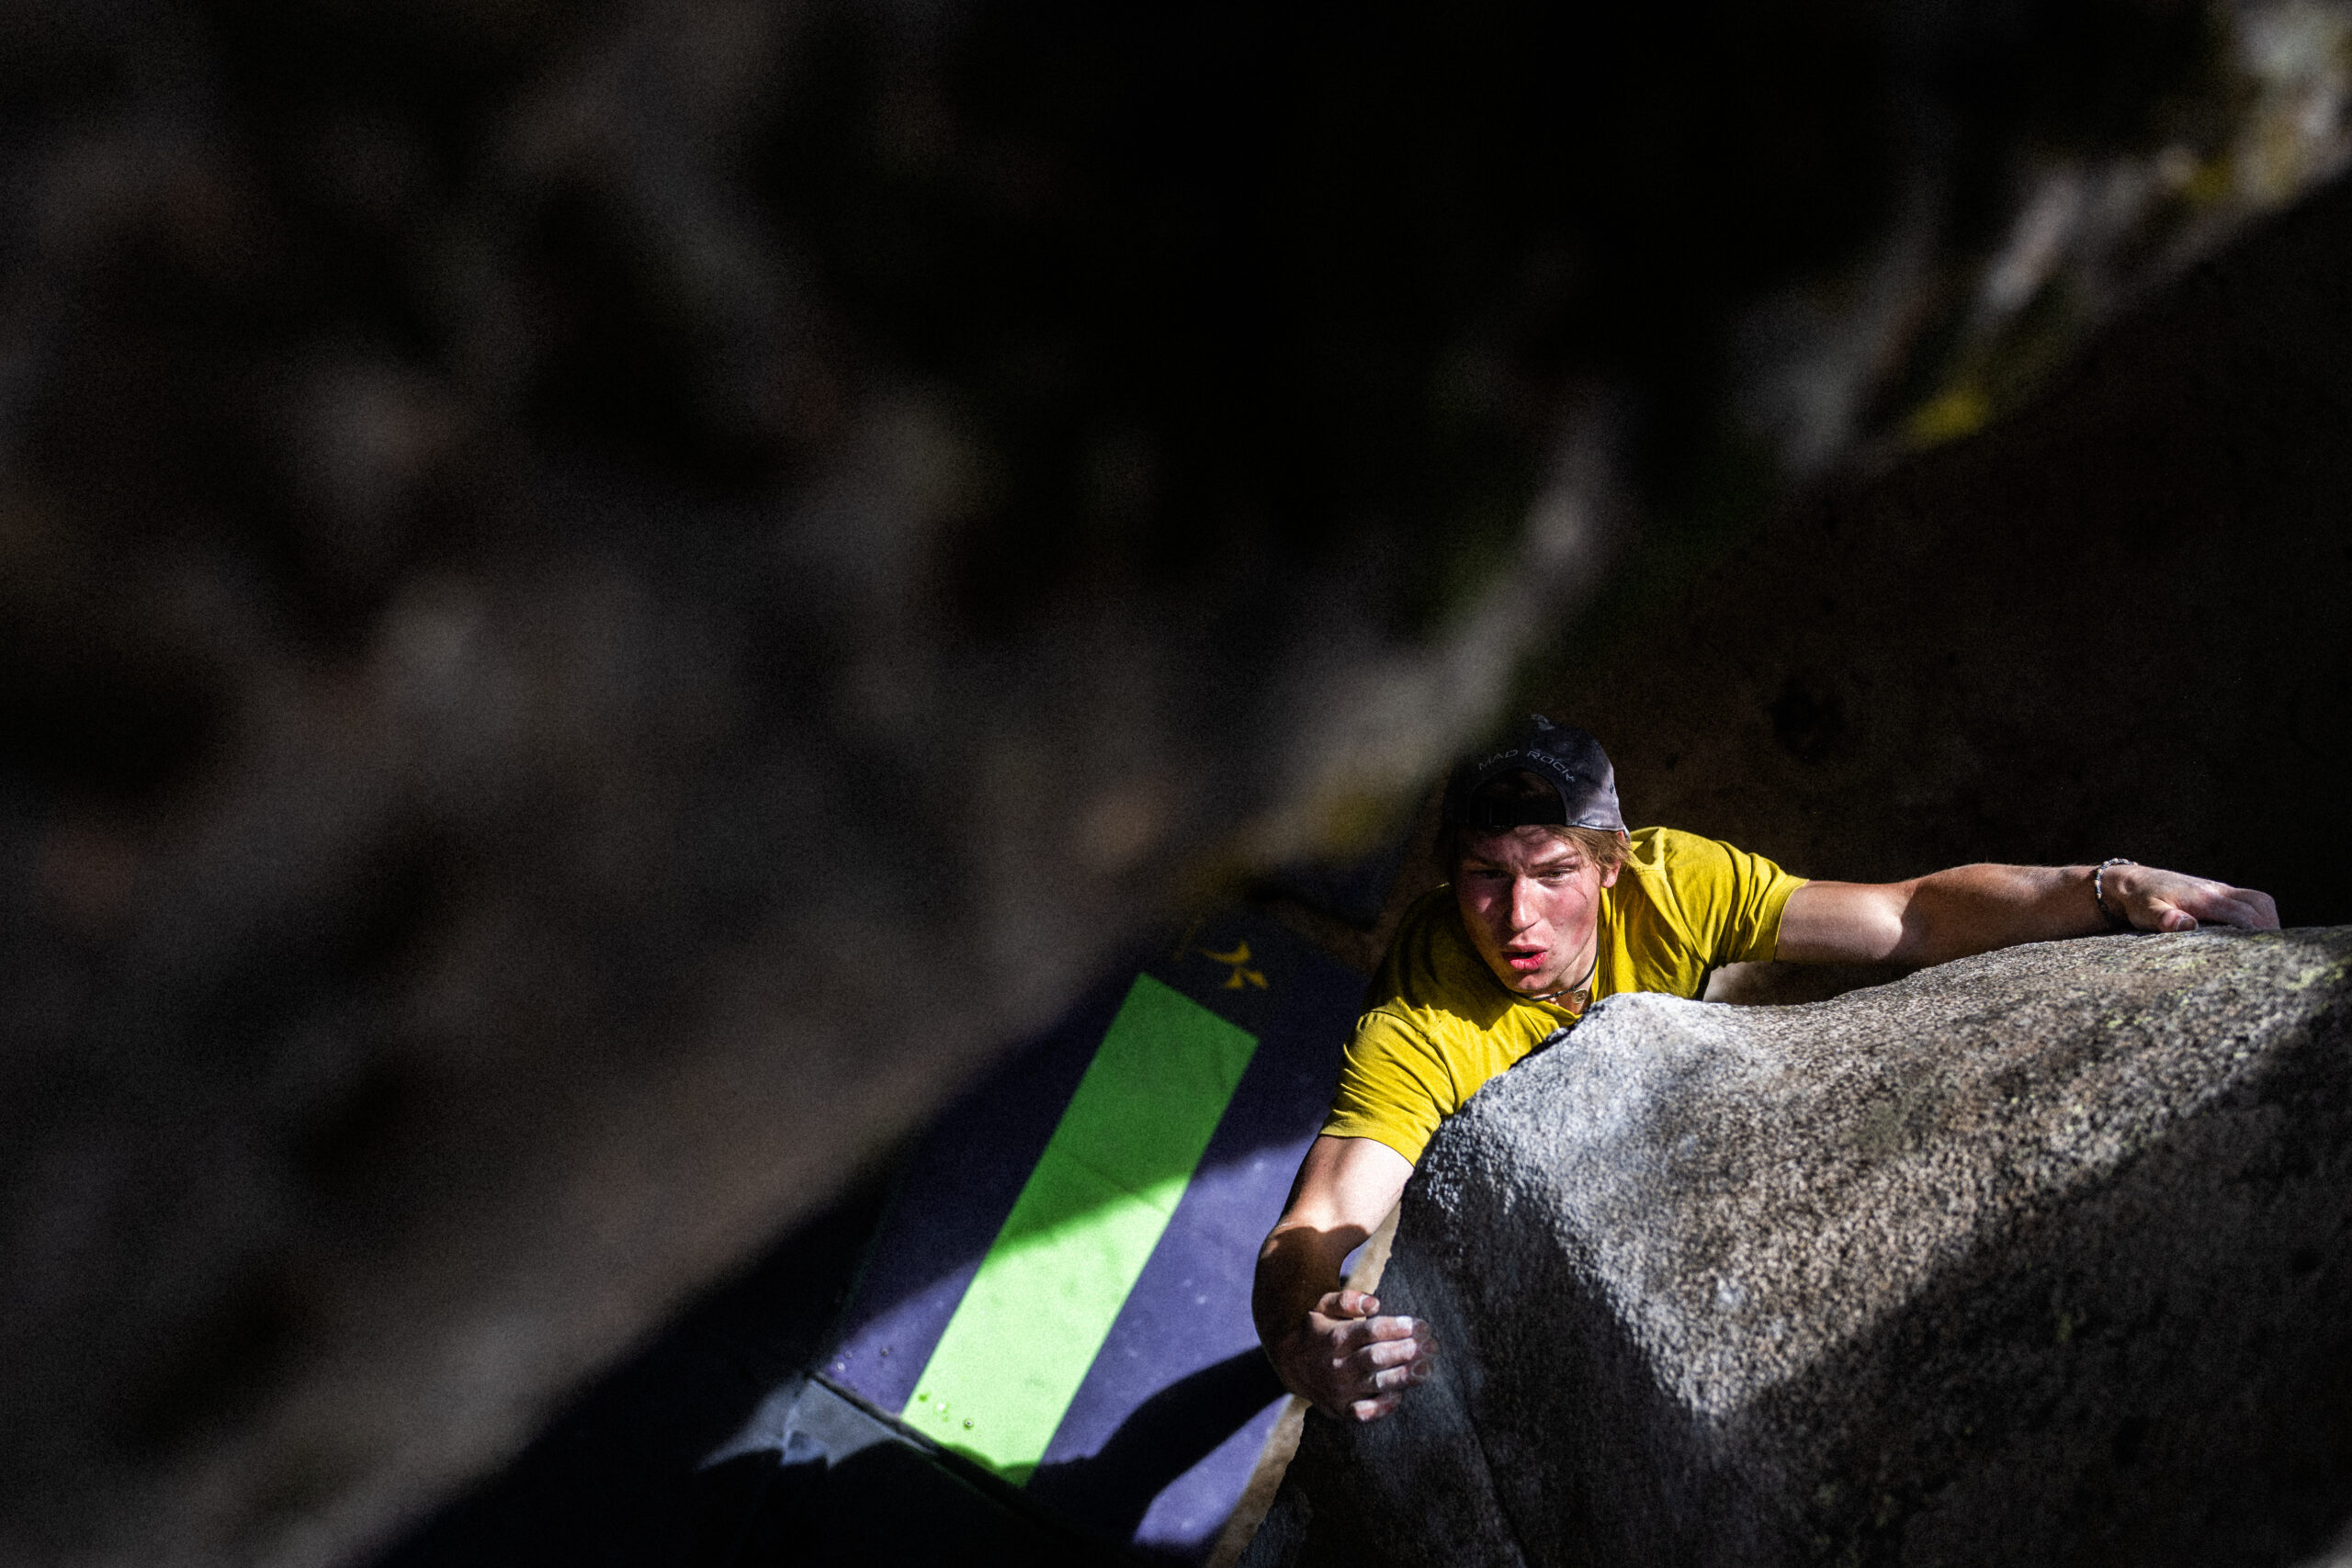
The first step in setting up your crash pads is to identify the fall zones. These are the areas where you’re most likely to land if you fall off the boulder problem. Consider the following:
- Initial Drop Zone: This is where you’ll likely fall when attempting the start moves.
- Transition Zone: This is the area under the crux or the most difficult part of the climb.
- Top-Out Zone: This is the space where you might land when topping out or reaching the final moves.
Placement of Crash Pads
Once you’ve identified the fall zones, it’s time to place your crash pads strategically. Here’s how:
- Cover All Fall Zones: Ensure that all potential fall zones are covered. It’s better to have more pads than to leave gaps.
- Seam Management: Align the edges of your crash pads to minimize seams, which can create tripping hazards or weak spots in your landing zone. Overlapping pads slightly can help avoid large gaps.
- Thicker Foam in the Back: Place crash pads with thicker foam at the back of the landing zone where higher falls are more likely. This provides better shock absorption for those unexpected high falls.
Using Accessory Pads
Accessory pads, also known as “satellite pads” or “slider pads,” are smaller pads that complement your main crash pads. They are especially useful for:
- Filling Gaps: Use accessory pads to fill in any small gaps between your main pads.
- Covering Seams: Place them over seams between larger pads to create a smoother landing surface.
- Protecting Ankles: Place accessory pads in areas with uneven ground or rocks to provide additional protection for your ankles and feet.
- Sit Starts: These are the perfect protection for sit starts where you just need some foam to protect from small rocks.
Stacking Pads for Extra Support
In some cases, especially when the ground is uneven or the fall height is significant, stacking crash pads can provide extra support:
- High Fall Zones: For high crux moves, stack one or more pads to ensure that the landing zone is cushioned adequately.
- Uneven Terrain: Stack pads to level out uneven ground, ensuring a more uniform landing surface.
- Creating Layers: Use a combination of thick and thin pads to create layers of protection. Thicker pads on the bottom with thinner pads on top can offer optimal shock absorption and surface stability.
Final Checks
Before you start climbing, perform these final checks:
- Secure Pads: Make sure all pads are secure and won’t shift during a fall.
- Test Landing Zones: Stand on the pads and jump to test the stability and cushioning. Adjust as necessary.
- Accessibility: Ensure that your spotters can move around easily without tripping over pads.
Properly placing crash pads and setting up a landing zone is an essential skill for boulderers. By carefully identifying fall zones, managing seams, using accessory pads, strategically placing thicker foam, and stacking pads for extra support, you can create a safer and more effective landing area. Always double-check your setup and make adjustments as needed to ensure maximum safety and protection during your climbs. Happy bouldering!